This is my own private collection of ramblings.. make of it what you will.. A happy remark would be appreciated and if complaining ..remember how much you paid ;)
The new design from DJ.. the Organic ring, something just a little different!
A unique expression of fluid organic motion in a beautifully crafted piece of wearable art.
(soon we will add bangles and earrings to this collection, and maybe diamond pieces)
No two of these can ever be exactly the same and the manufacturing requirements mean they cannot be mass produced either
so your ring is your only, forever.
We make these to order in Silver, nine carat and eighteen carat gold, we can also cater for platinum.
Prices range from $390 to $5000
Each order is a new design, done by myself and is unique to you.
The same as the very fabric you are made from is unique to you.
Stop following the sheep.. make your jewellery say more about you and less about what everyone else says you should be.
A few tips on fusing platinum. the art of fusing platinum is overlooked.. its too easy to just solder it.. but often soldering platinum will buy you heaps of problems down the track..
This method below can also be used on 18 carat palladium based white golds and with a steady hand and some experience 18 carat yellow too. (in the case of golds ignore the warning against using flux)
[edit] Added clip of actual fuse.
Preparing your platinum:
Cleaning, cleaning, cleaning..
this cannot be overstated. Dirt and saw teeth and file teeth and other detritis from rolling will make their way into the join area and also the metal area around the join. At the extreme temperatures required to do a fuse these polutants will destroy surface adhesion and also affect the "flow" of the metal, and this is amplified in the case of soldering instead of fusing.
I like to do all my papering and sawing and other preperation then soak my join in h2so4 for about 10 minutes and give a good scrub with a brush then steam my joint.. just for kicks. (Back when i was a platinazi I was known to soak it in nitric too.. jsut in case...
Once we have determined that our work area is clean lets move onto the actual fuse process.
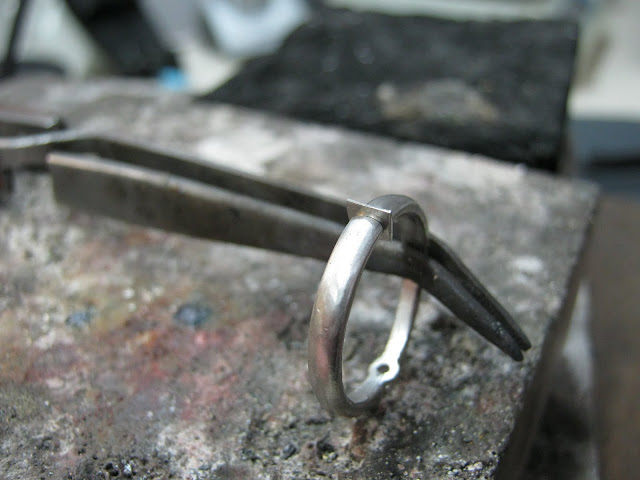
1: The ring. In this case I am assembling a cast piece with a hand made collet and I want my shank sized before the time. I prefer a fuse because it does not leave a line or run the risk of breaking after the ring is finished, or the line "wearing in" or polishing in after some time (or worse yet the join mysteriously just jumping open as the platinum age hardens (ruthenium))
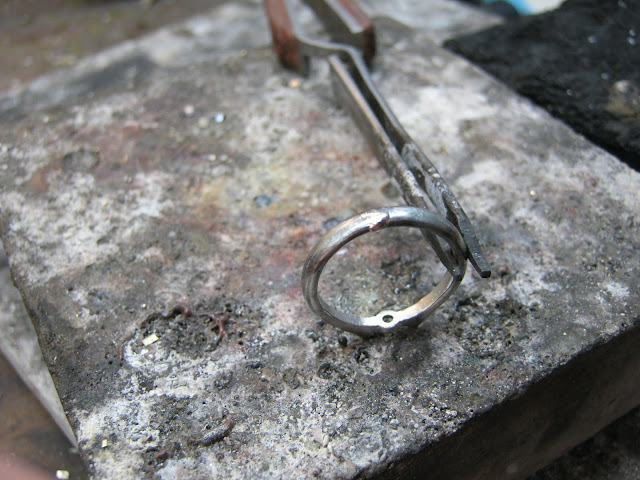
2: The sizing. I cut the required amount out of the shank as per usual and bend it in till its all nice and tight again.
3: preparing the join. I file a V groove about 25% of the way into the join with a square file, right around the join.
zoomed 16X
CLEANING CLEANING CLEANING time.. refer to beginning of post. This is the time to soak this ring in h2so4 while you prepare the fuse metal.
4: the fuse metal. This platinum must preferably be the same platinum alloy as the ring, you can get away in some cases but preferably try use exactly the same alloy. Mixing cobalt and copper for example wont be an issue but almost anything to try use to fuse with ruthenium based platinums will give you poor bonding and or porosity issues. To ascertain if you are using ruthenium based platinum, try melting a small amount and let it cool, typically it will have a "crytaline" surface.. only use other ruthenium platinum with this.. even then its pot luck with fusing this alloy, unless you buy a laser and work under argon.
Copper platinum work great with fusing, but are generally very soft unfortunately. I find the cobalt platinums to have very good bench and casting qualitys.
Back on track, roll some of the platinum down the same way you would solder, but leave it heavier at around 0.3mm or so, paper it and CLEAN IT.
then clip of a small section about +- 1mm bigger than your join area right around. you need to fill the v groove you file in step 3 so bigger groove = more metal, use your common sense.. and practice because too much platelet and you wont melt into the join enough and if not enough platelet the fuse will be concave and your shank will be too thin.
Insert this into the CLEAN join area, steam it once more just for kicks :)
DO NOT USE FLUX DO NOT USE FLUX REPEAT DO NOT USE FLUX
5: The fuse (oxy/lpg)
(hahaha yes yes.. i hear the laser boys laughing at me now.. shhhhh back in your cages...)
this is quite different to soldering where all the heat is concentrated close to the join area with the aim of quickly sucking solder into the join, relying on zinc/cadmium etal to flow and bond for you.. (actually those last are in fact why simply soldering platinum quite frequently results in join breaks)
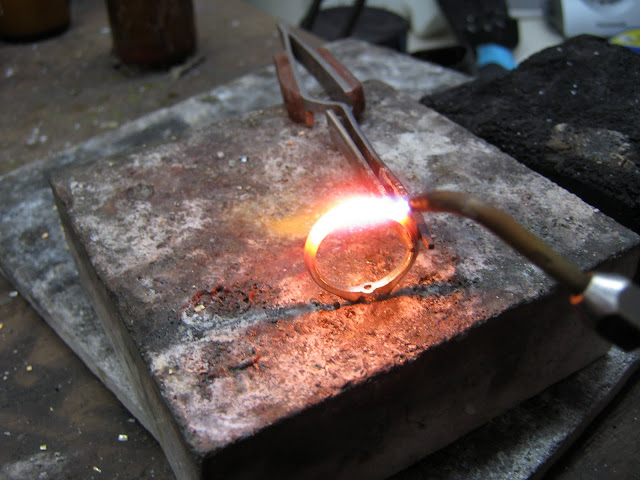
You will need to start out with a very sharp small flame about 4mm of high flow rate blue tip like so
start out by warming the bottom third of the shank to bright white (1300-1500c)(wear protective glasses please)
once the lower third to half the shank is so bright and hot that my camera would not even expose the picture (1500 - 1700c), you are ready to fuse..
At this point you have been heating like a regular anneal.. sweeping back and forward with the flame, time to cut the flame back with more oxygen to 1.5 - 2mm and increase the heat (1750c ++)..
the effect here is to melt the platelet into the groove, heat directly from the edge of the platelet with a small concentrated flame so you dont ALSO melt the actual shank.. , melt it toward the shank, let physics sort the rest out.. this will require some practice at first to get the melt right without it dipping into the shank.
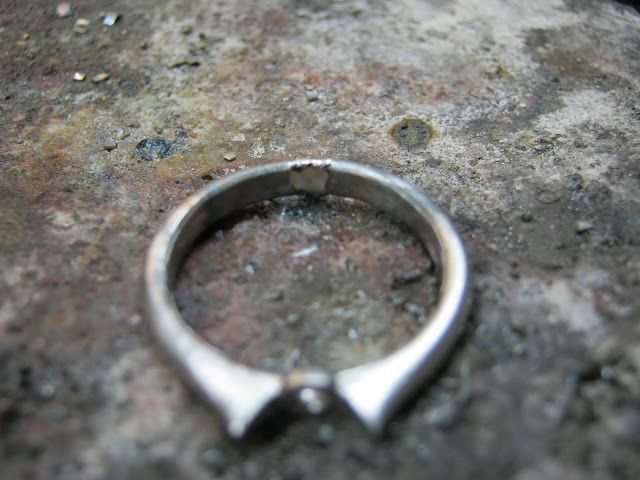
This is what you should see after.
If you observe bubbles, pitting you are most likely working with ruthenium based plat or you have dirt on your material.. or you did not listen and you used flux.. Platinum is a clean metal and wont oxidise in fusing.
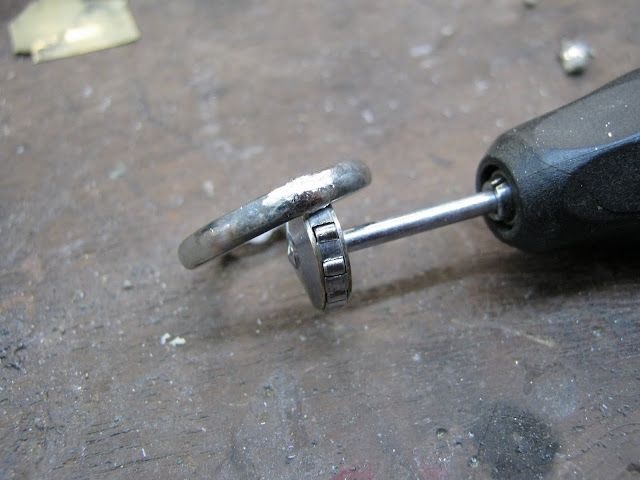
6: Burnish/harden, I like to hammer a fuse and burnish it. I will typically size a platinum job
half a size to a full size too small just so that I can hammer the join area to work harden it, I then burnish the join area as well to eliminate any possible subsurface voids (highly unlikely) and further work harden the area.
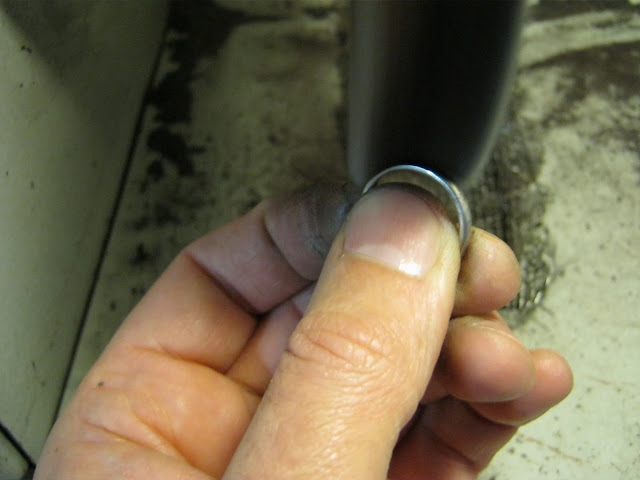
7: paper and polish. The subject of finishing and polishing platinum is worth a blog post all on its own , suffice it say
FILE -> 400 grit ->800grit ->1200grit -> 2000grit grey -> 2 grades of polishing compound and this is not yet ready to get a final rouge....
and hopefully you have this.. a seamless join that no amount of polishing will dig into (i hate seeing platinum rings polished and showing the telltale solder seam)
and some close up under 16X of the seam area.. (the proof of the pudding...)
Milling hollow tube is not easy, or hard actually, just irksome, some manual wax joining and cleaning is required, but the total hand time is still less than the time required to file growlines off ;)
The model, split in half
Bearing in mind that you need some excess wax for the wax weld I draw a little lip near either edge of the split tube
then send it off to Caro for milling.. (a wife that can mill.. is worth a mill???)
I split it all up and align along the support tabs using them for a quick fix hold solution
after which the wax weld begins in earnest...
a little working off of the join and a dip in my magic polishing solution ;)
(no, I wont tell you the exact mix of Shellite to water and the temp required in the ultrasonic ;) )
and they done! lets hope the caster knows what to make of them...
Being a jeweller will typically mean I have the unpleasant task of telling people their jewellery is dead. Hinges worn through, or just generally just finished. People vest a lot of money and emotion into a piece of jewellery and sometimes they will spring for a "save" even though the cost is prohibitive.. This is the story of one of those pieces..
This Bracelet is worn through in all its hinge areas and was breaking continuously, so we are going to beef it up with some eighteen carat rails and turn it into a hinged bangle rather than a bracelet.
Firstly we need to roll down some beam and turn it into the wire for the rails
Then the awkward job of tacking the rails onto the bracelet ends. this part is done free hand.
after which we can wire the remained up and start soldering it all together
Give it a nice bath in H2SO4 for 30 minutes or so..
then start shaping it, this will require a resolder here and there as solder tends to be brittle...
and finally the single hinge in the rear is added
finally some polishing and a good swim in the rhodium and she is good as new!
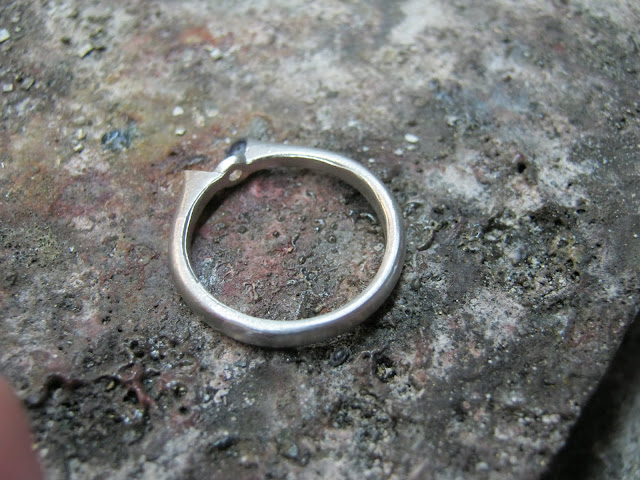
I recently sold my MDX-15 scanner, it which was a great help when doing wedders.. so typically when my next fitted wedder comes along I had to reinvent the wheel for myself.. (funny how quickly you become reliant on technology)
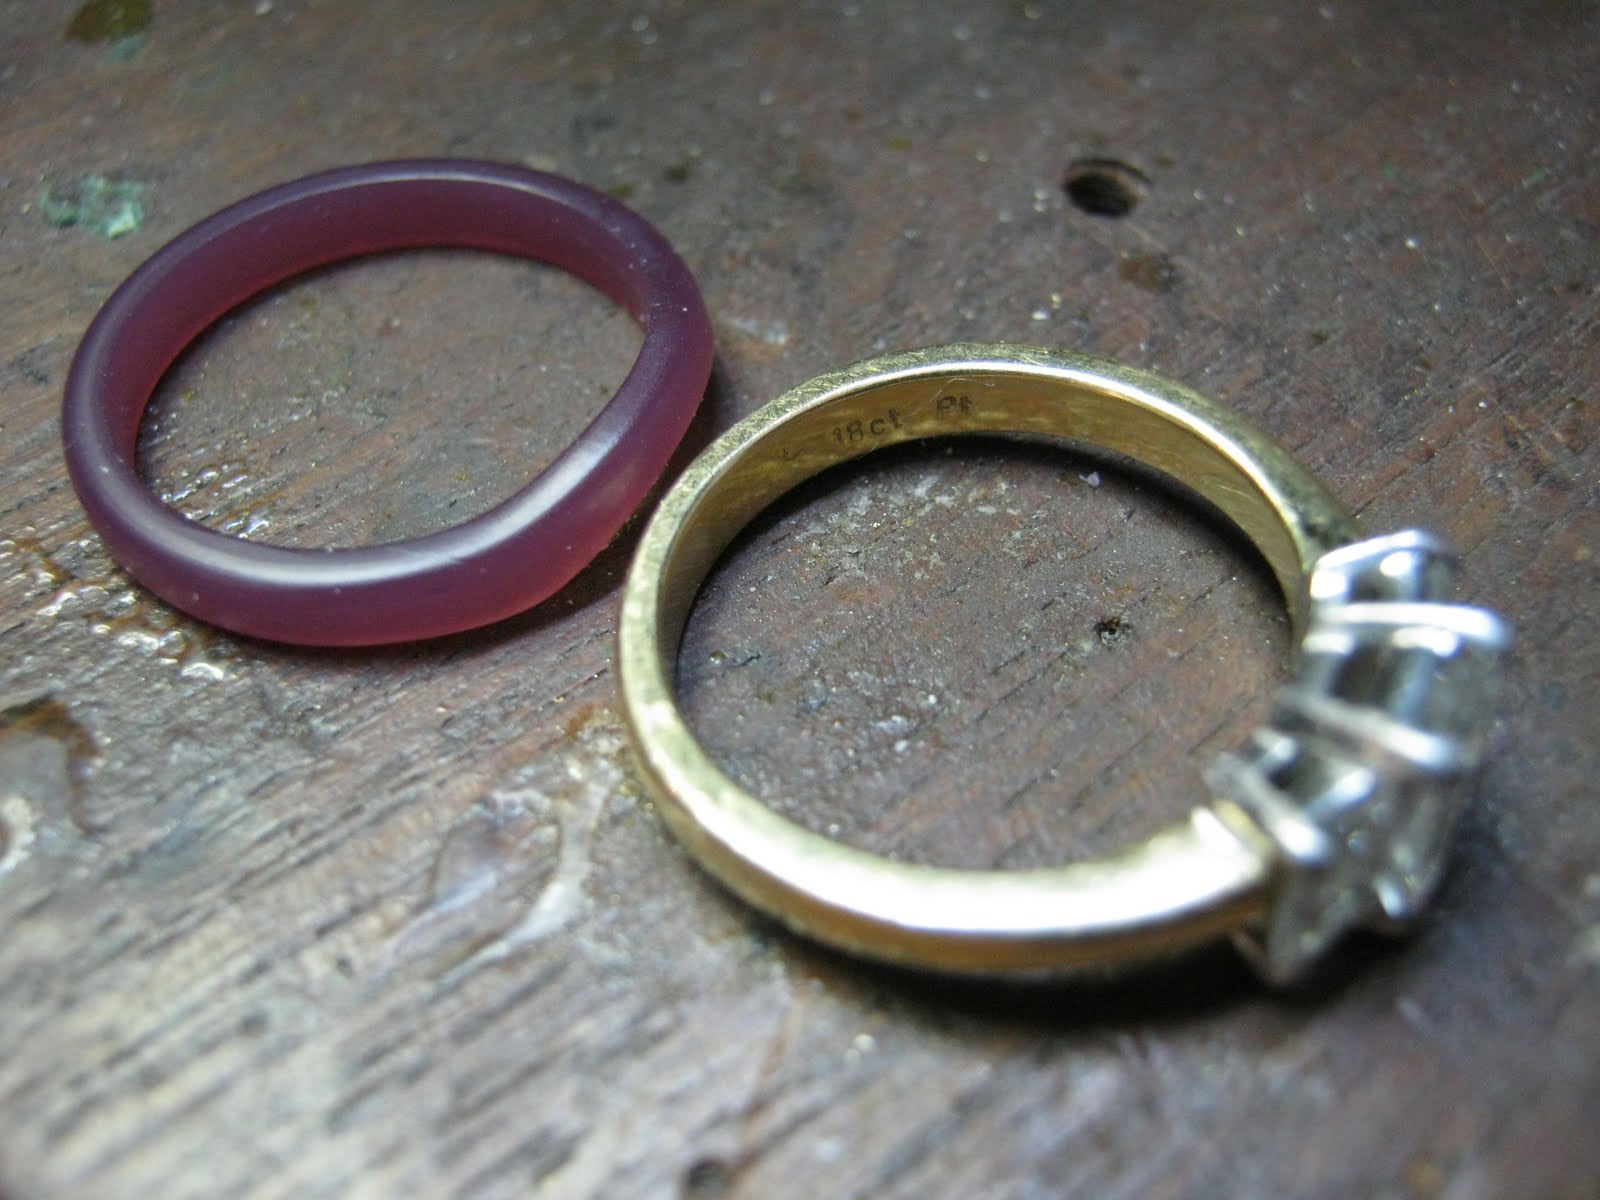
the ring is to be "flowy" but to sit snug on the ring surface as well..
"flowy" = T-Splines of course.. fitted.. well thats another story.. so I married old and new.
I brought some pictures of the ring into Rhino and scled them, then using a tsplines torus primitive I made a band, grabbed a few edgeloops and pushed and pulled till it looked about right.. remembering to leave it a touch wider for step2.
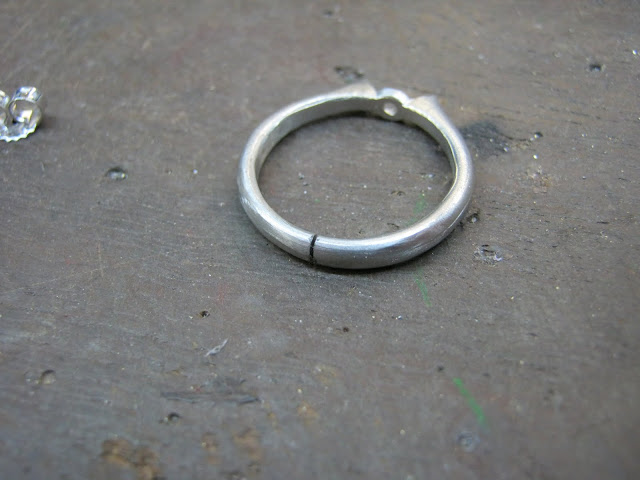
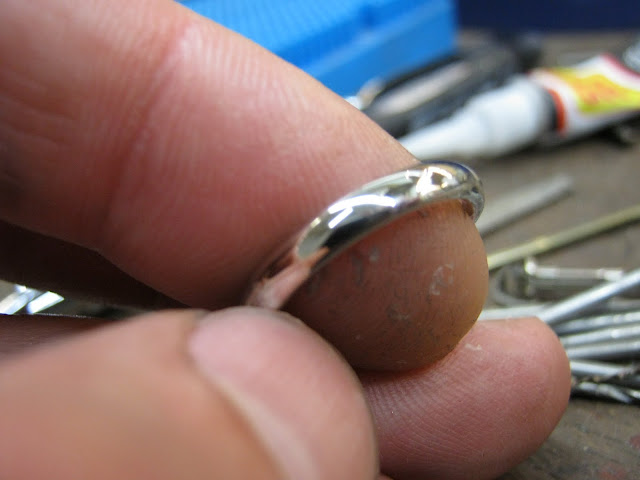
The lovely wife them milled the wax blank for me and time for step 2, which is basically melting the master ring into the wax pattern.. this is how I was taught to do it as an apprentice.
I placed the original ring down on a steel surface and lightly warm the metal.. heat here is critical.. too hot and you destroy the blank, to cold and it does not impress on the wax.
HEAT and PRESS!
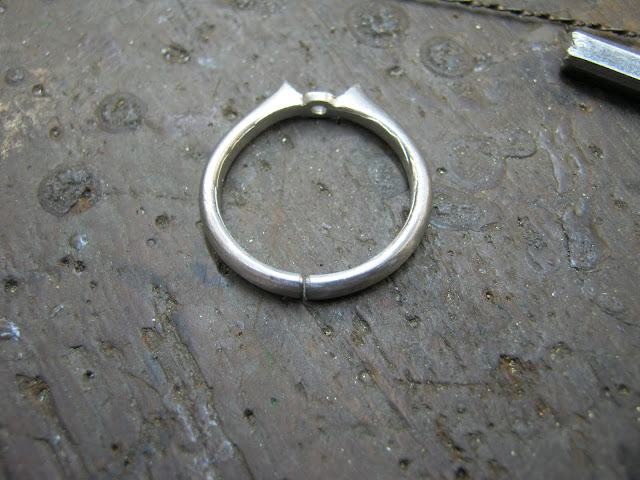
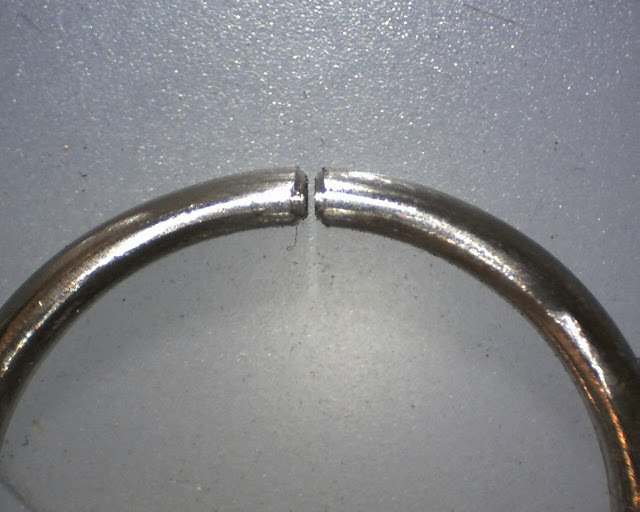
carefully you seperate the two, too much force will break the wax, but hopefully you end up with a perfect pressfit :)
voila!
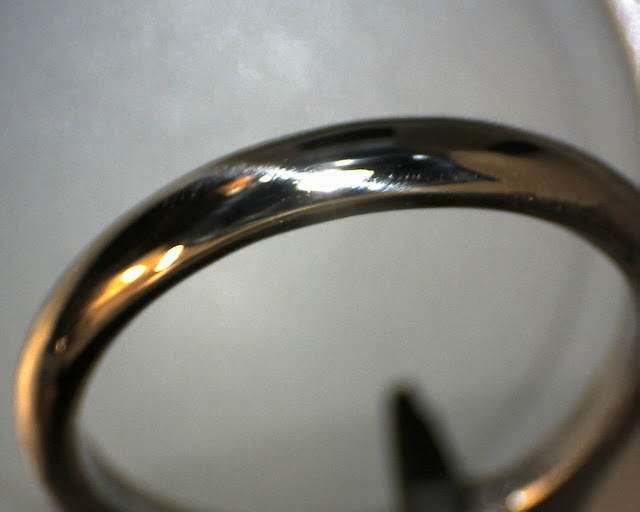
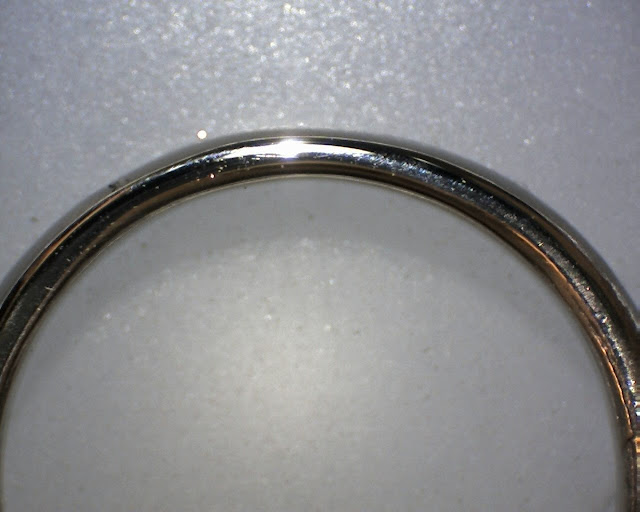
The proof of the pudding is in the eating so here is the finish article :)
After having owned the iPad and the iPhone for quite some time, I have come to understand that Apple has great design.. nice features, but no actual real world interoperability with regular stuff working people use.. .. My iPad ended up being used as a glorified game toy by the kids.. Angry Birds mostly.. My iPhone I will admit is one of the nicest devices I have owned, its a real pity its antenna is such a P.O.S.
I managed to trade it for something useful ;) , a tread mill! And then I sold off the mdx-15 and decided to get myself another mobile computing device to replace the iPad, this time I considered more carefully so I didnt get suckered in by good looks, rather than actual usefullness...
The result was the Asus Ep-121.
Some few clips of me using it :)
Me playing with Tsplines
Colin playing with MOI on it:
Me playing with Matrix
lastly ;) me watching Buck Rogers on it whilst on the treadmill.. hehehe
had to copy an existing ring, no time to cad it, so handmade. about 6 hours all up..
I will not see this finished, it gets the halo set, then the four prongs dropped in..
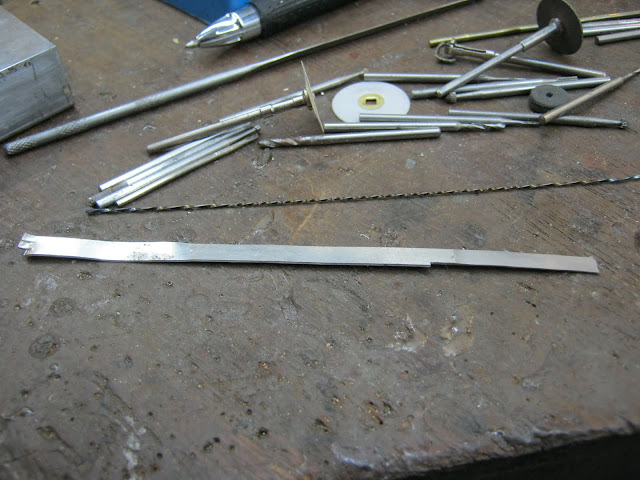
1: Forging the Shank. The image below represents the raw beam (top) rolled down to the right thickness (middle) then rolled flat to around 0.3mm narrower than the shank needs to be. (bottom). This is then annealed then bent round (far bottom) and soldered. The shank is usually easier to make in platinum as you can fuse it, as opposed to white gold which is soldered and leave a join. (i hate joins...)
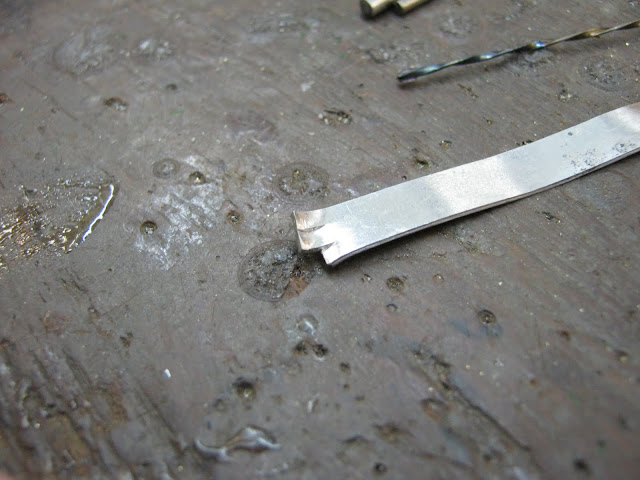
2: The shank. (lost one image somehow). The shank bent round narrower and a few sizes too small. This is so that i can hammer it upward on my mandrel to the correct size. This achieves three things. I can taper my shank appropriately by concentrating hammering the bottom 2/3rds up, it widens the ring to the correct width which minimises filing and lemel loss. Finally it work hardens my metal which makes polishing easier and a more durable piece. (i also draw my cad shanks 1.5 sizes too small and a little thick, so i can tap them up, it does all the above but also aids in porosity elimination in those unfortunate bad casts...)
The shank is split inwards at the joint and then along the shank either side of that split. These areas will be bent upwards to make the shoulders.
3: The basket. This section is made from leftover beam, rolled sideways to give me a flat metal area around 20% wider than my diameter of my head and 0.2mm thicker than my basket needs to be.
This then gets punched round and folded inwards to the correct diameter leaving the correct size hemisphere.
4: the head. This is also pierced from rolled beam, hammered down with a big hammer to work harden the metal (tiny beads will be used in setting, tiny beads want resilient metal.) I dome the metal slightly to represent the stone angle on the Halo and then drill out the centre stone section.
The head is drilled for the stones (and usally the prongs are let in too, but in this case its so tight the setter requested setting the smalls first). the basket claws are filed from the hemisphere. The pieces are highly polished in all areas inaccessible after joining and the head is assembled.
5: The head and shank are both buffed prior to final assembly
A coating of boracic acid is applied to protect the surfaces from oxidising in hard to reach areas, and the piece is soldered together.
Finally I QC everything.. this piece was a copy and copy's are always harder to make than just starting from scratch, and in my version I allow around 5 to 10% thickness prior to setting, this allows for little "slips" that may possibly happen, and if there are no "slips" usually the client is not put off by having a slightly sturdier ring.